

Identity Provider
The Identity Provider page configures how Adcyma connects to your directory. It covers the core directory connection, the certificate used for Exchange Online, the on-premises Active Directory agent, and Single Sign-On.
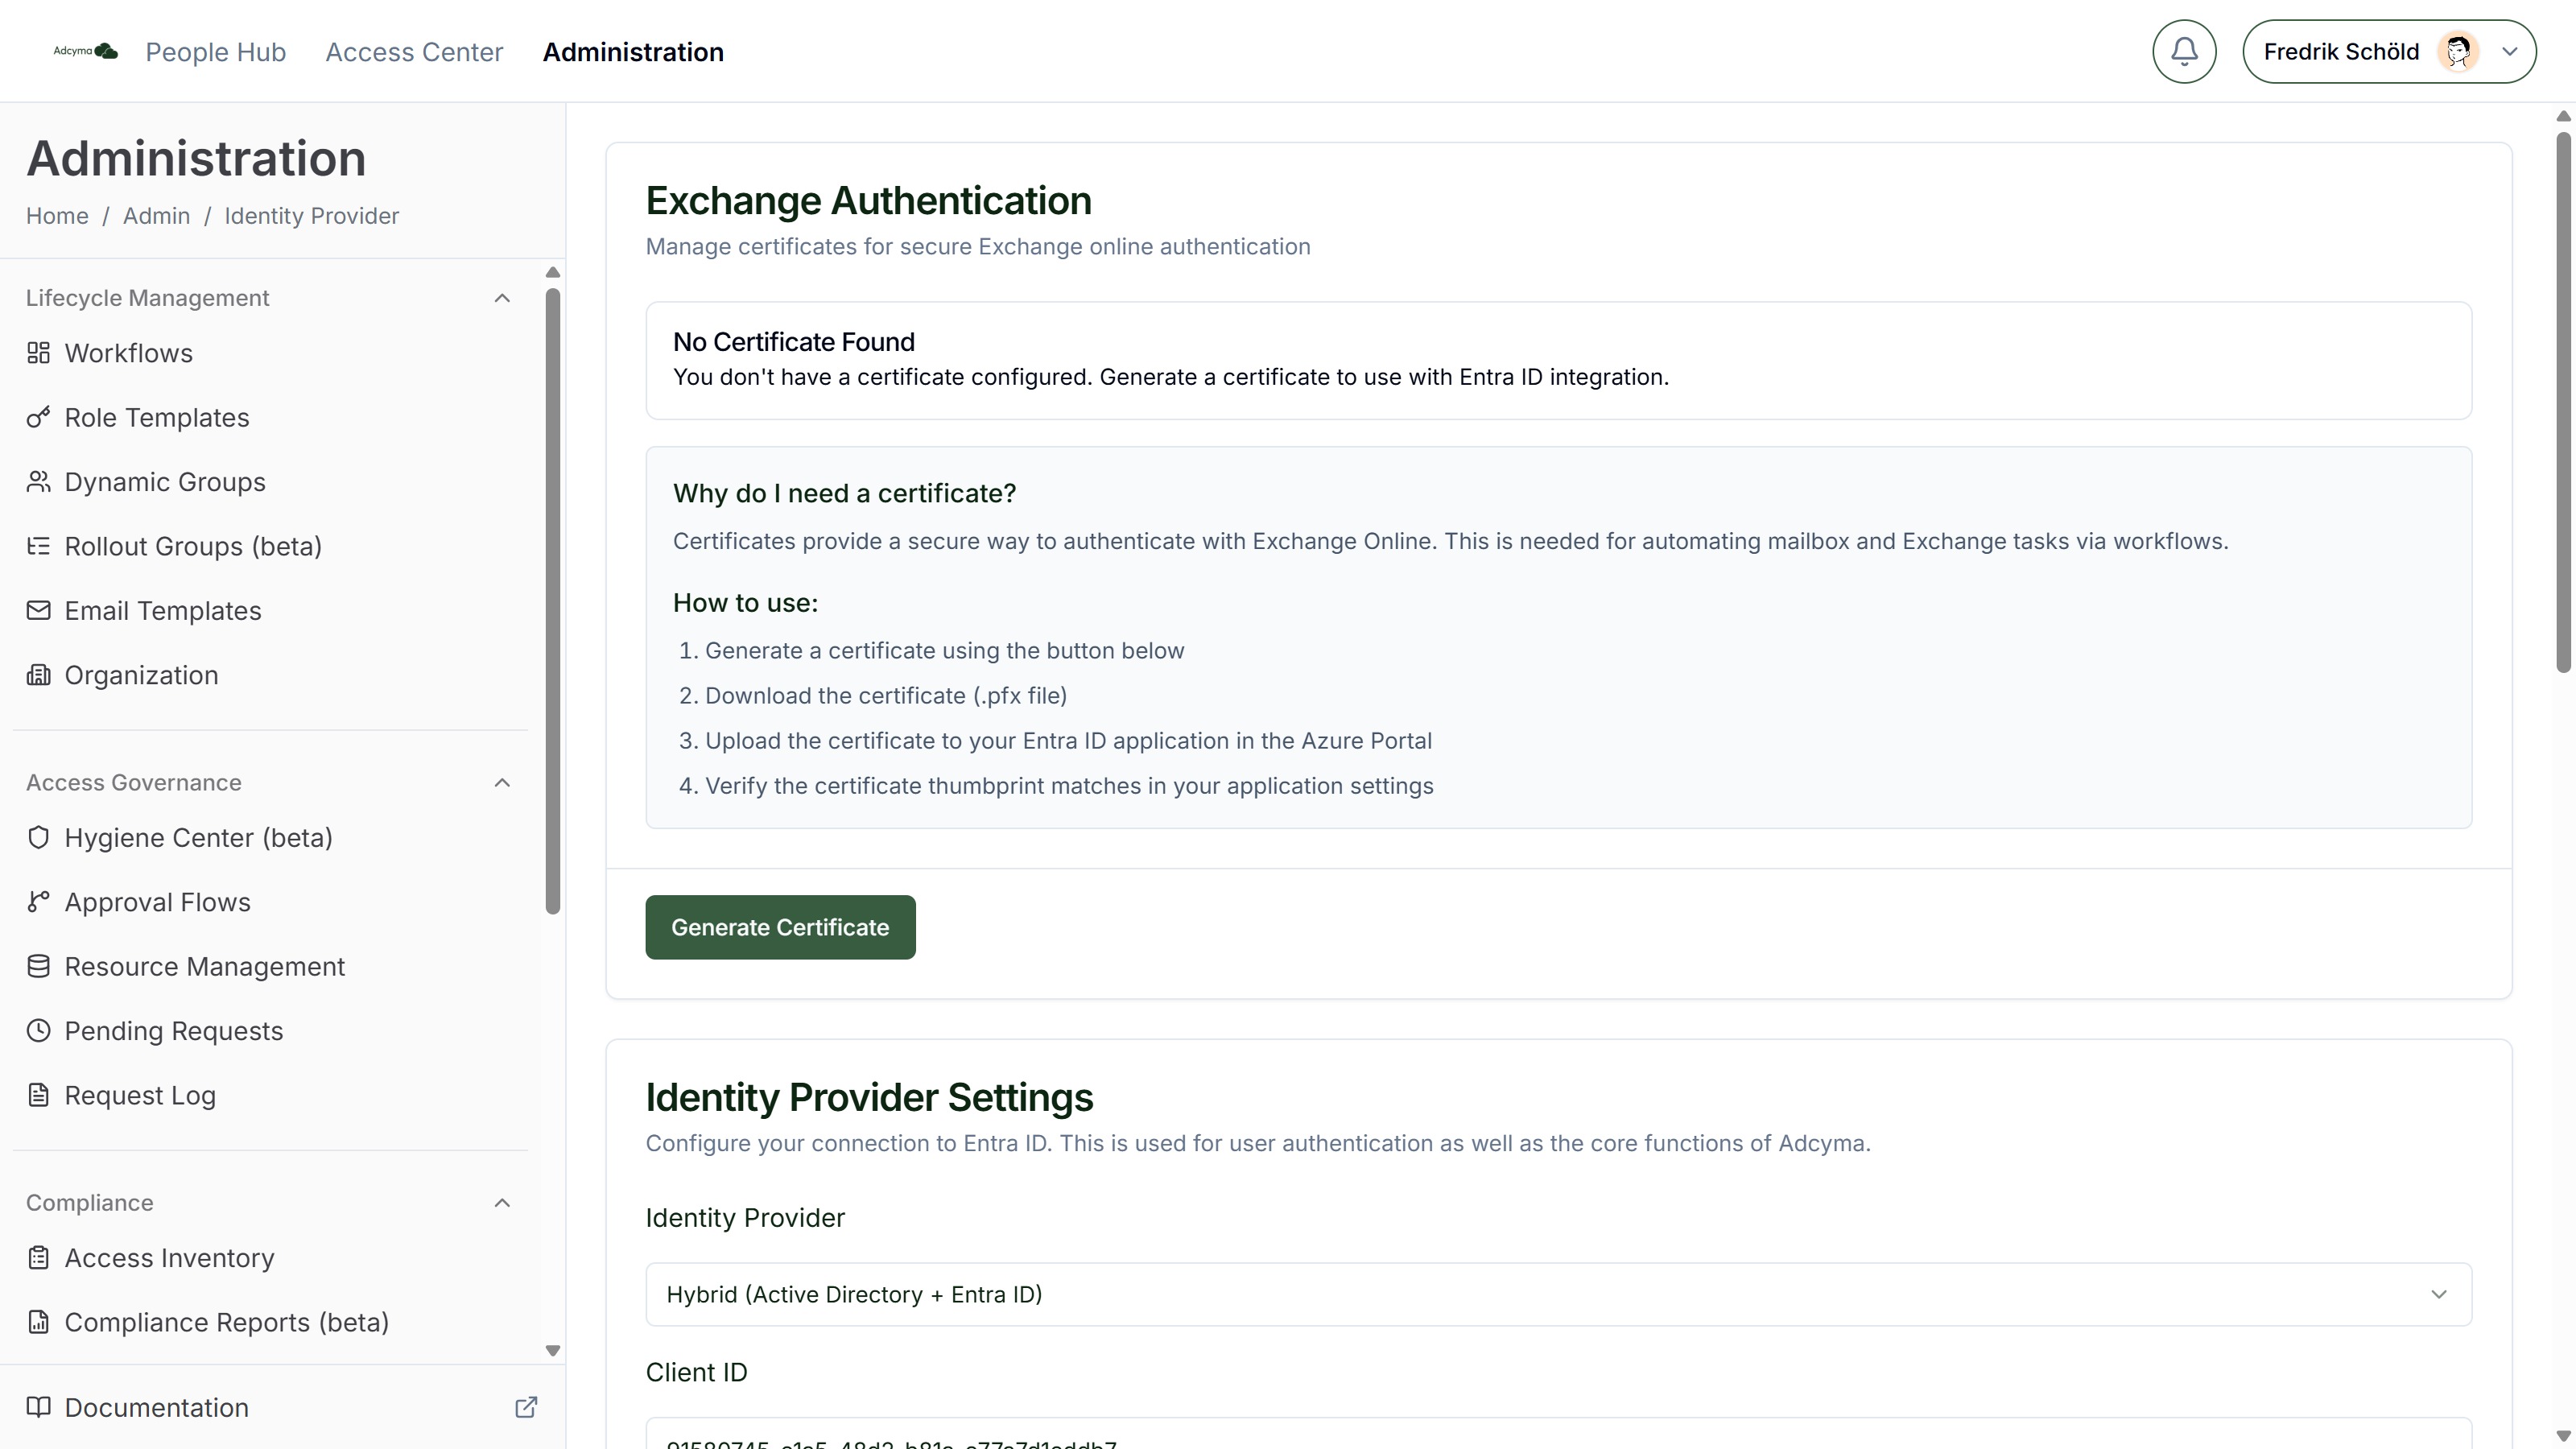
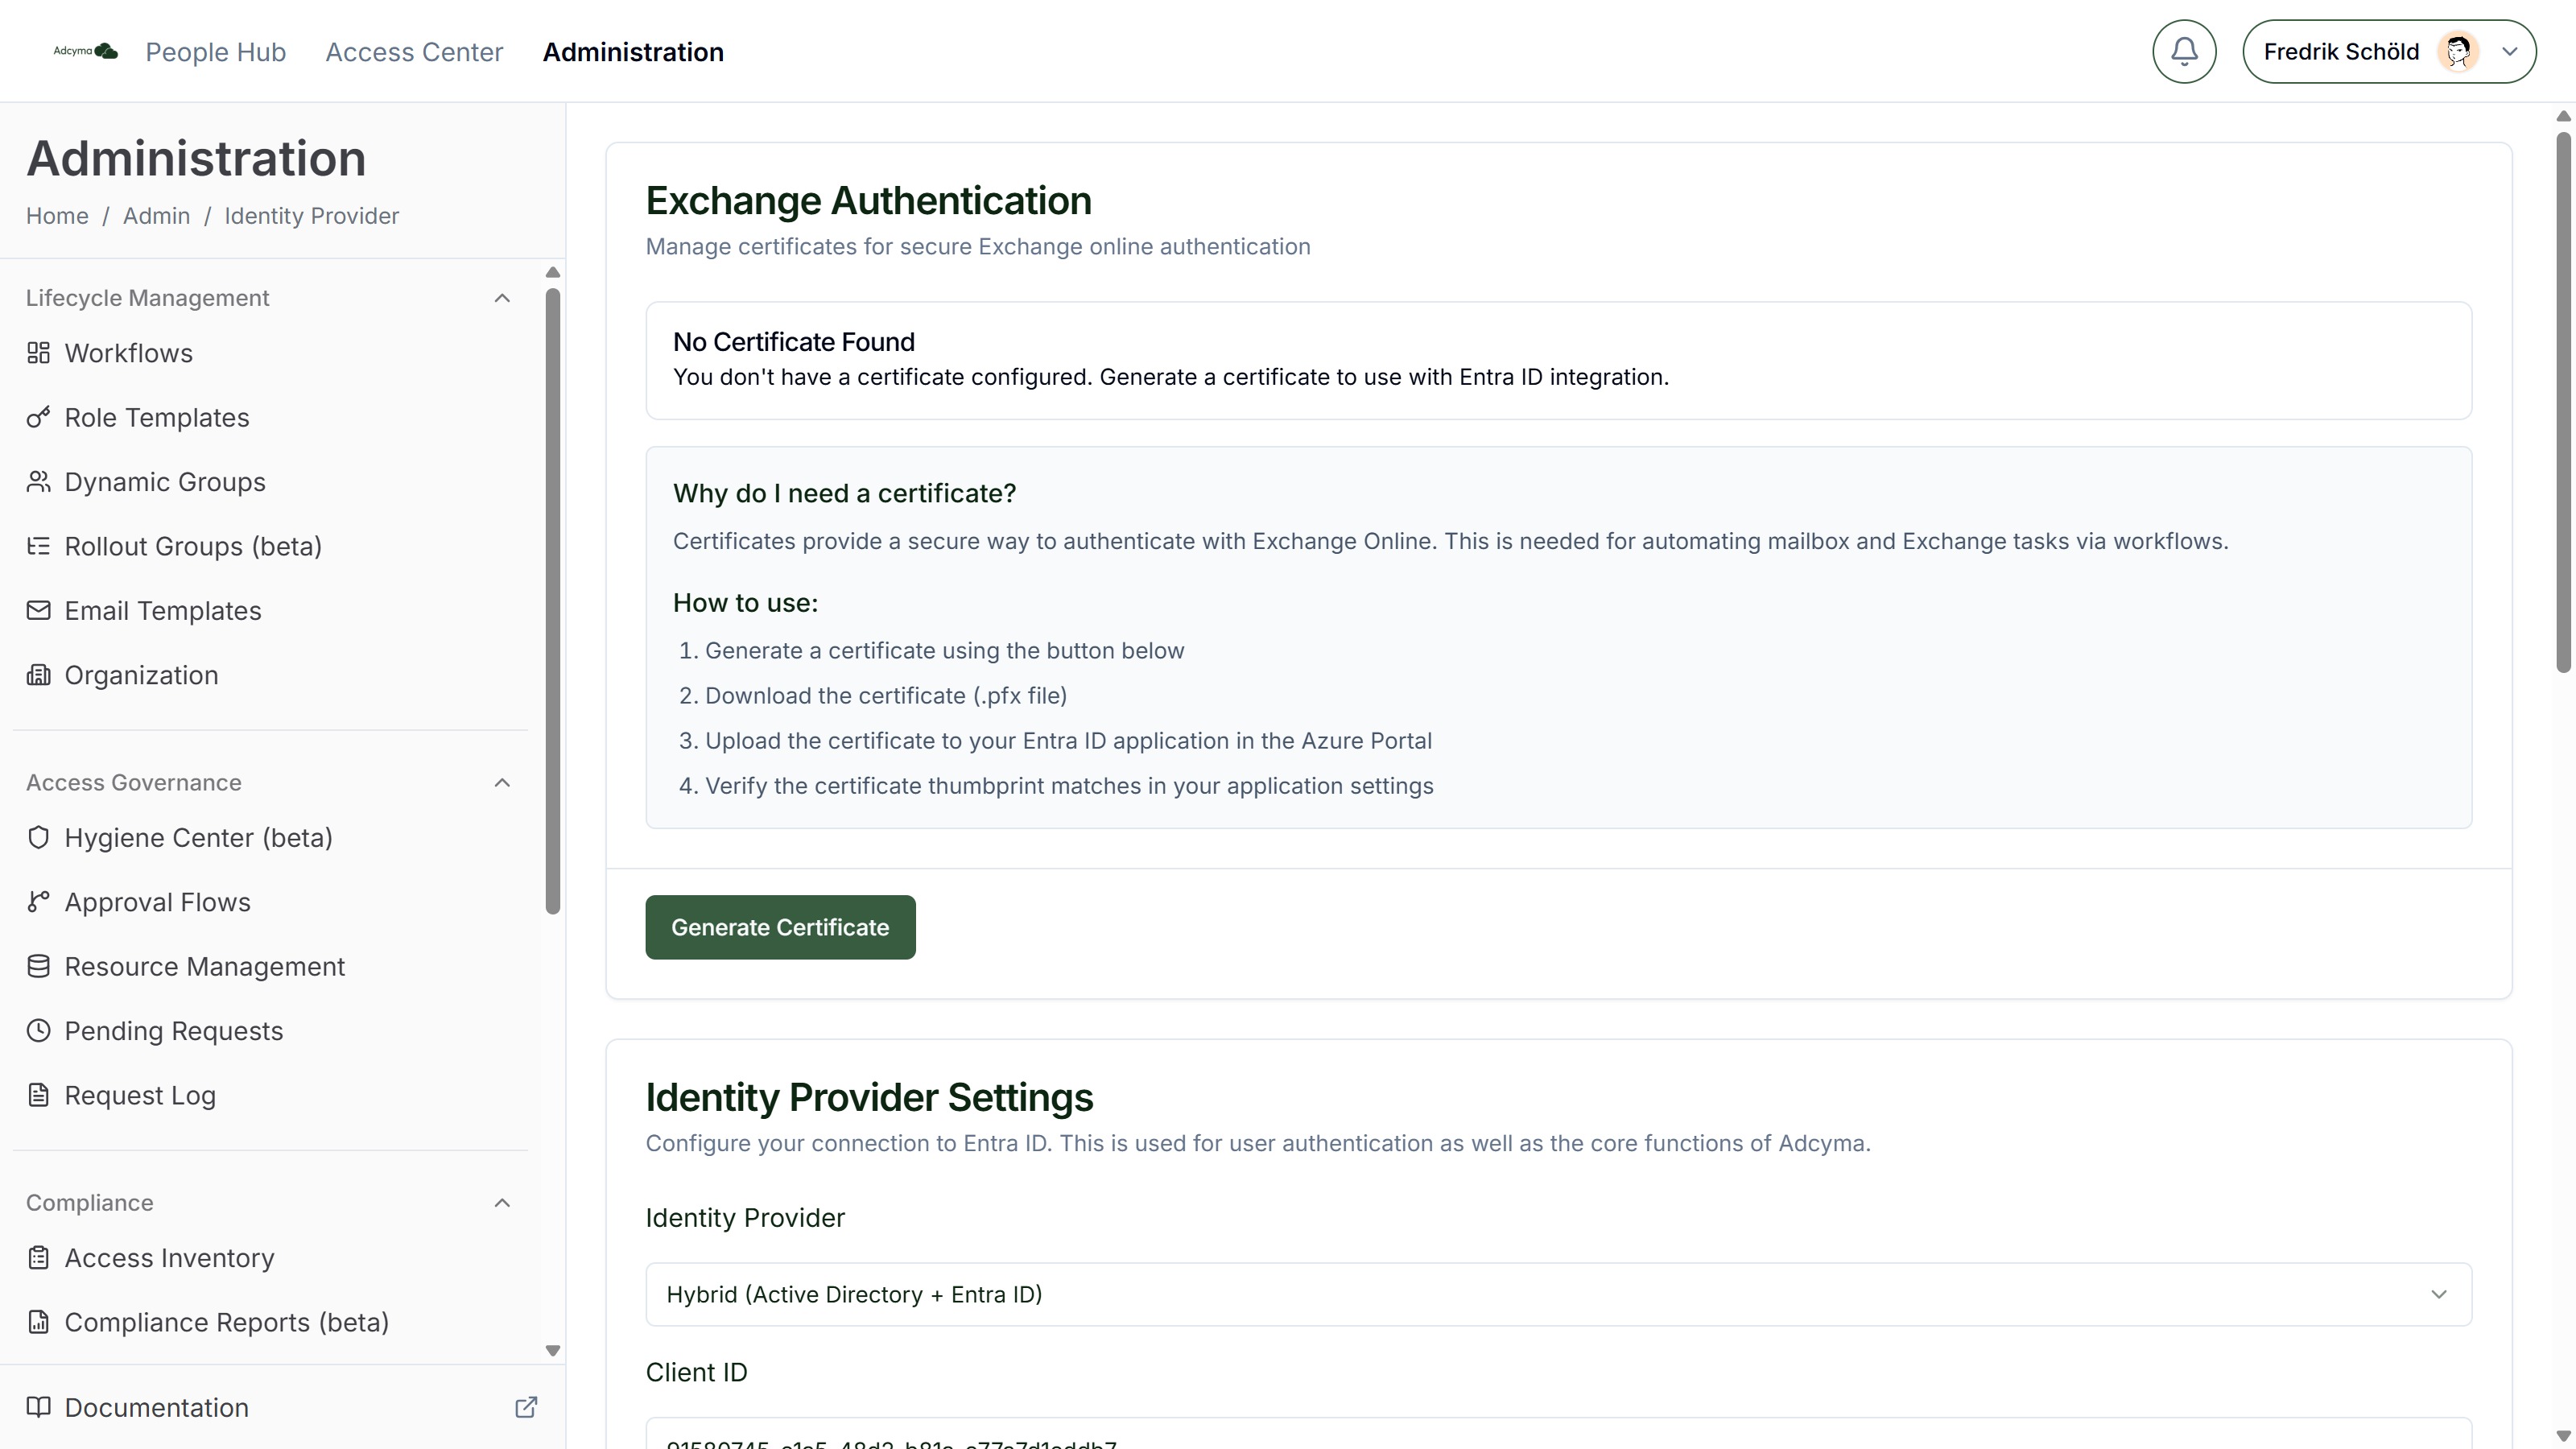
Identity Provider Settings
Identity Provider Select how your organization runs its directory:
- Entra ID - Cloud-only Microsoft Entra ID
- Active Directory - On-premises Active Directory, connected through the Adcyma AD agent
- Hybrid (Active Directory + Entra ID) - Both, synced through Entra Connect. Adcyma can create and manage users in either directory; see Preferences for the default directory setting.
Google Workspace is coming soon.
Client ID, Tenant ID, Client Secret The credentials from your Entra ID app registration. Adcyma uses these to call Microsoft Graph for your tenant. These fields are not needed for a pure Active Directory setup. Follow the App Registration guide to create them.
Use Test Connection to verify credentials before clicking Save.
Exchange Authentication
Adcyma uses a certificate to authenticate with Exchange Online for mailbox-related operations (for example, converting user mailboxes to shared mailboxes during offboarding). This section manages the certificate lifecycle:
- Generate Certificate creates a new certificate
- Download the certificate file and upload it to your Entra ID application in the Azure Portal
- Verify the thumbprint matches in your application settings
- Revoke the certificate if it's been compromised or needs rotation
Exchange authentication is optional and only required if you want Adcyma to perform Exchange Online operations. See the full walkthrough: Connecting Exchange Online.
Active Directory Agent
Shown when your provider is Active Directory or Hybrid. The agent is a small service you install on a Windows server that can reach a domain controller; it connects Adcyma to your on-premises directory.
- Click Register agent and optionally note the server hostname and AD domain
- Download installer and run it on the target server
- The agent appears with a status badge: Waiting for first contact, Online, Offline, Suspended, or Revoked, along with its domain, version, and last-seen time
You can Suspend and Reactivate agents from here. See the full walkthrough: Installing the Active Directory Agent.
Single Sign-On
The Single Sign-On section lets users sign in with Microsoft Entra ID instead of magic links.
Before enabling SSO, your Entra app registration needs:
- A Redirect URI under Authentication → Web, exactly as shown on this page (it ends with
/api/auth/callback/microsoft-entra-id; a copy button is provided) - The delegated permissions
openid,profile,email, andUser.Read, all consented. These are all required for SSO to work, regardless of what other permissions are already configured.
Then click Test connection. The Save button is enabled only after a successful test, which prevents locking your organization out with a broken configuration. Toggle SSO on and save.
See the SSO setup guide for the full walkthrough.
Managing Your Settings
- Update your Client Secret when it expires or as part of regular security rotations
- Coordinate SSO changes with your IT team to minimize user disruption
- Keep your identity provider application permissions aligned with current Adcyma requirements
- Rotate and re-upload certificates before they expire