

Import
The Import page creates users or IGA resources in bulk from a CSV file. A six-step wizard walks you through it: Type → Upload → Map → Review → Confirm → Progress. Nothing is created until the Confirm step, so you can check every row first.
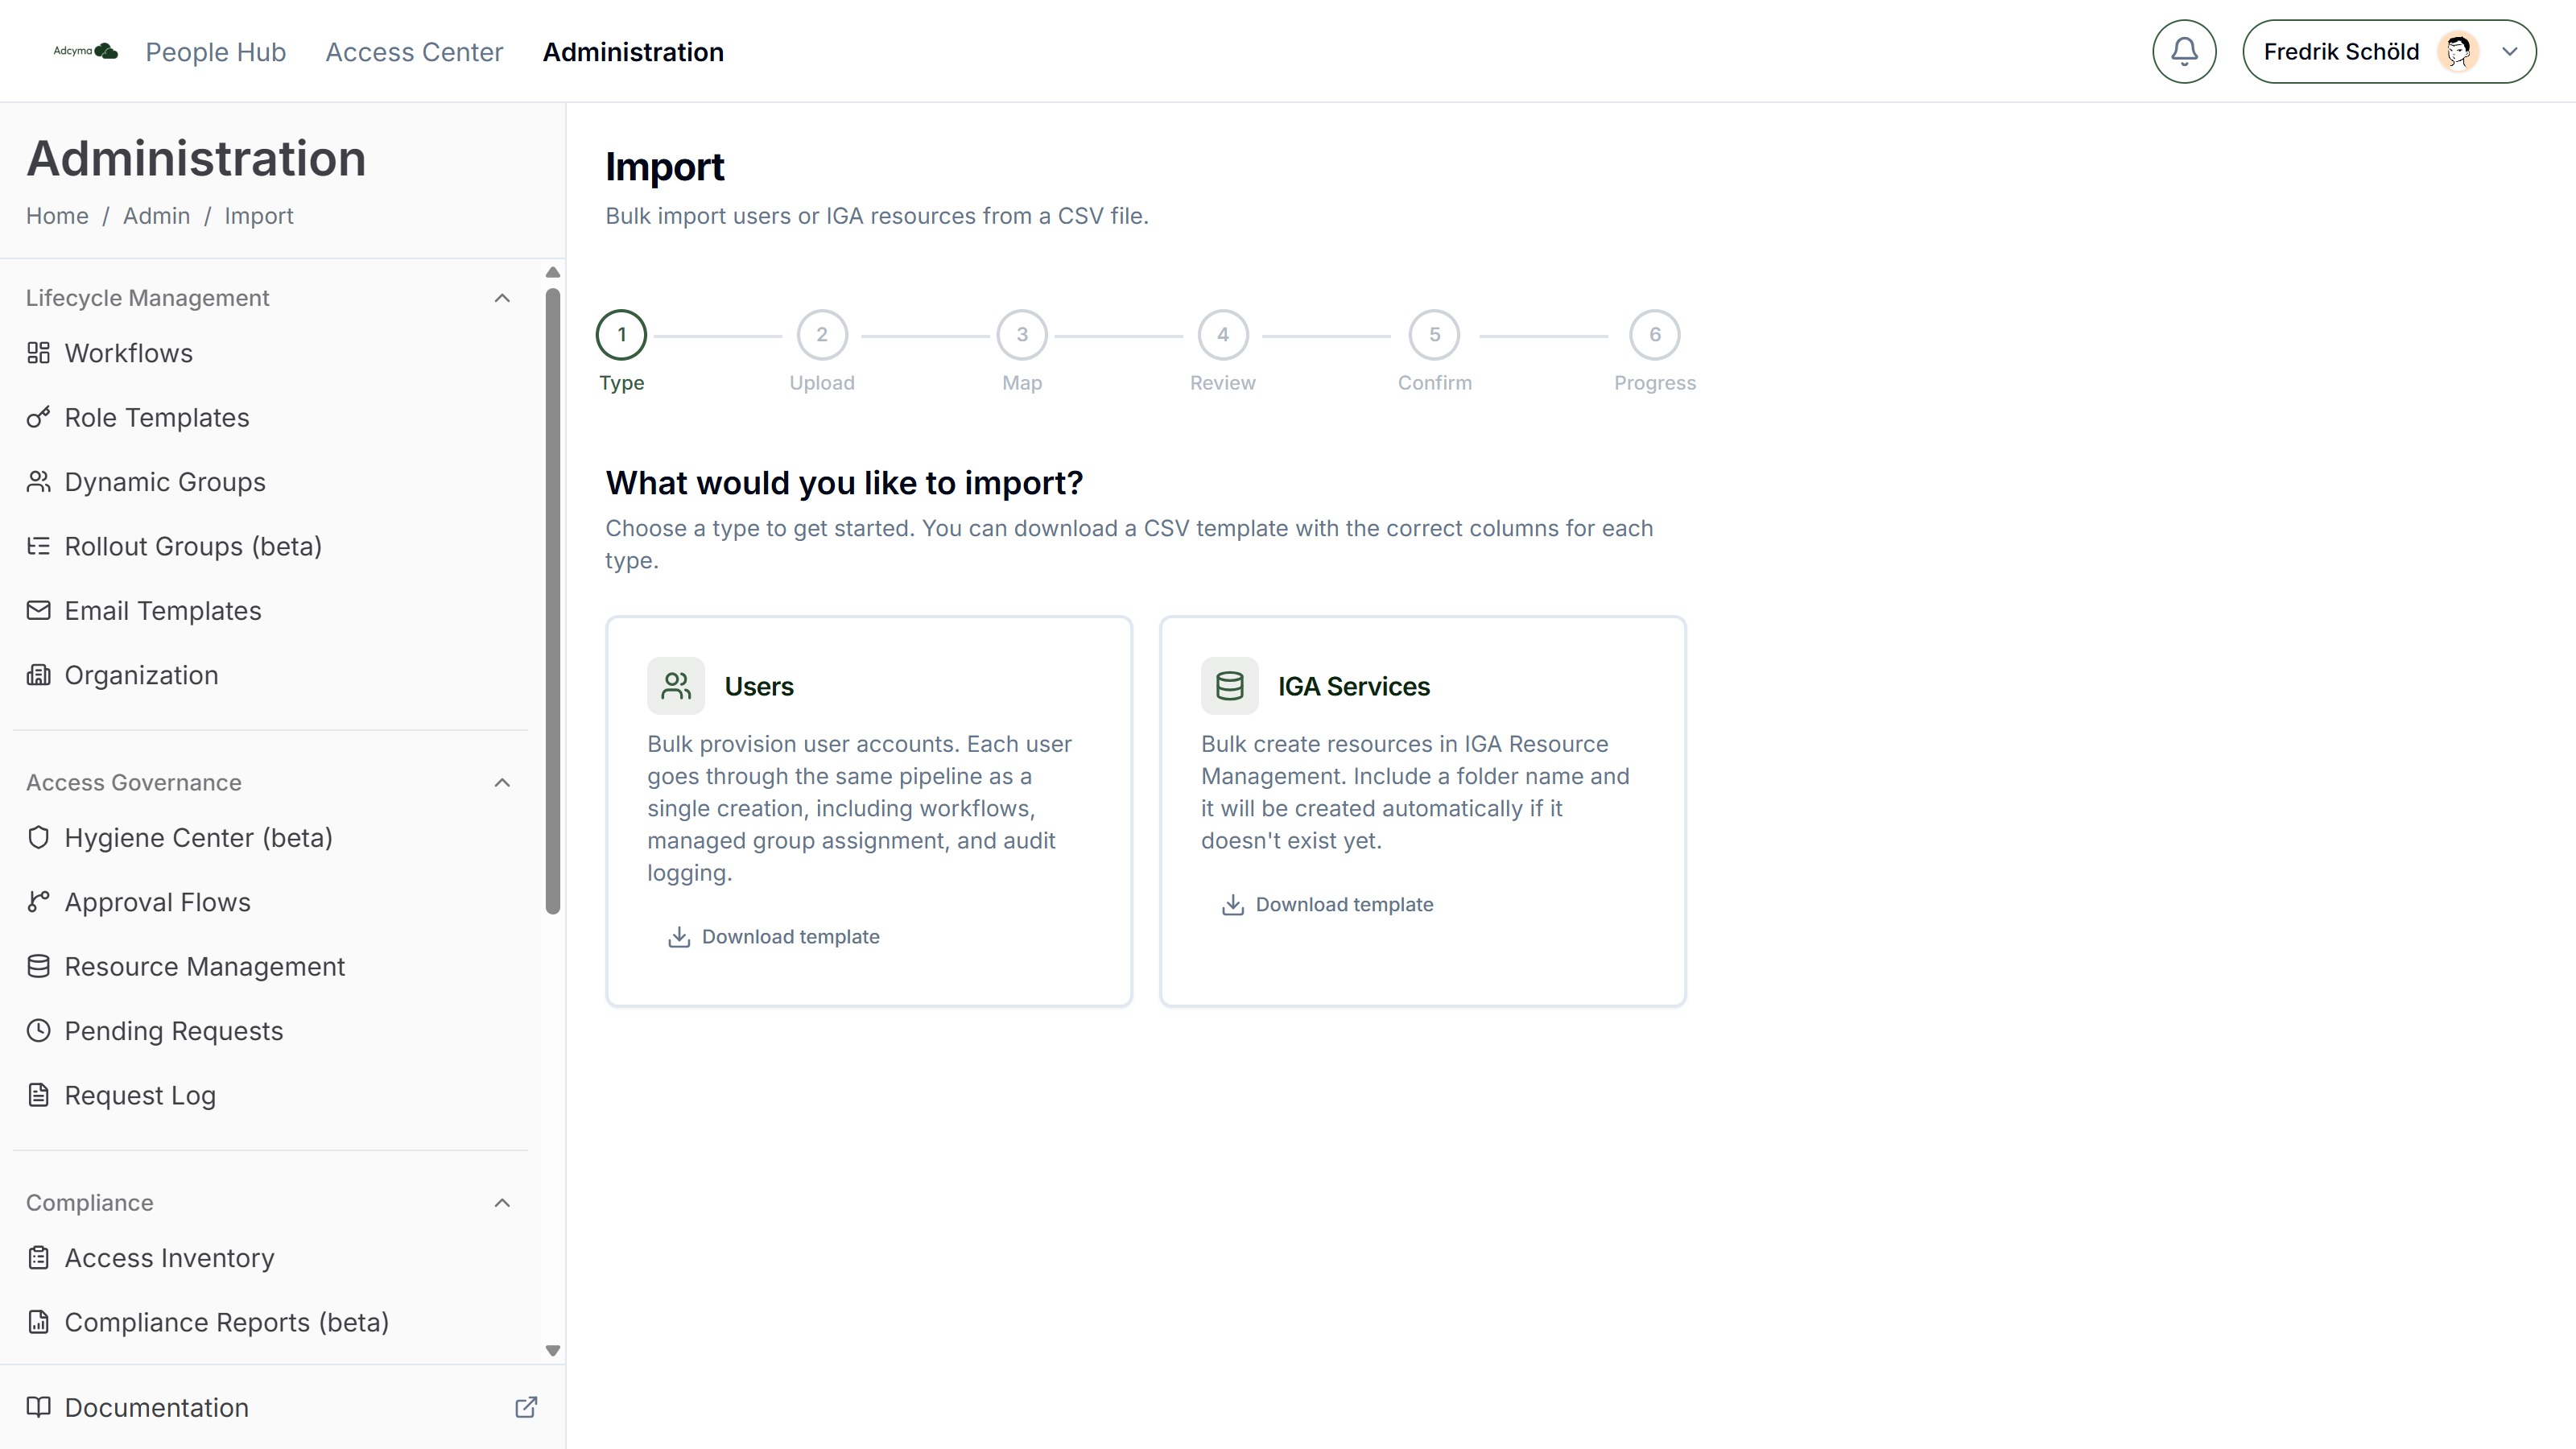
What You Can Import
Users Bulk provision user accounts. Each imported user goes through the same pipeline as a single creation in the People Hub, including workflows, managed group assignment, and audit logging.
IGA Services Bulk create resources in Resource Management. Available when the Identity Governance add-on is enabled.
Each type has a Download template button that gives you a CSV with the right columns and one example row.
The Wizard
- Type: choose Users or IGA Services.
- Upload: drop a
.csvfile or browse for one. Adcyma reads the headers and rows. - Map: for each CSV column, pick the field it maps to, or Skip column. Columns whose header matches a field name are mapped for you. If a required field isn't mapped, the step lists it under "Missing required fields".
- Review: Adcyma checks every row (see Validation below). Fix your file and upload again, or tick Excl. on rows you don't want.
- Confirm: shows how many rows will be imported. Click the import button (for example Import 12 services) to start.
- Progress: follow the import row by row. Each row ends as succeeded or failed, with the reason for failures. Click Start over to run another import.
You can import up to 500 rows per batch. Split bigger files.
<!-- TODO screenshot: /img/ImportReviewRows.png | URL: https://portal.adcyma.com/administration/import | Review step for an IGA Services file showing an Error row and an Info ("Folder ... will be created") row. Only capture if a test CSV can be validated without committing; never click Import. -->
Validation
The Review step checks rows on the server before anything is written. Each row gets a status:
| Status | Meaning |
|---|---|
| OK | The row is ready to import |
| Info | The row will import, with a side effect worth knowing. For IGA Services, "Folder "X" will be created" means the organizational unit doesn't exist yet and the import creates it. |
| Error | The row can't be imported as it is |
Rows with errors block the import. The page says how many errors remain, and Continue stays disabled until every error row is fixed or excluded. At least one row must be included.
What counts as an error:
- Users: a missing First name or Surname
- IGA Services: a missing Service name or Description, or an Approval flow name that doesn't match any existing approval flow
When you confirm, the import runs in the background and the Progress step updates as rows finish. The batch ends as complete or completed with errors. For user imports, Adcyma checks your seat limit before it creates anyone: if the batch would go over, the whole batch fails and no users are created.
User Import Fields
Required: First name, Surname.
Optional: Middle name, Job title, Department, City, Country, Postal code, Street address, Company name, Office, Manager (UPN), Starting date, Preferred language, Account enabled.
UPNs and email addresses are generated from your Preferences, same as for users created in the People Hub.
IGA Service Import Fields
| Field | CSV column | Required | Notes |
|---|---|---|---|
| Service name | name | Yes | The resource name people see in the Access Center |
| Description | description | Yes | |
| Folder | groupName | No | The organizational unit. Matched by name, ignoring case. Created if it doesn't exist. |
| Approval flow name | workflowName | No | Must match an existing flow's name, ignoring case, or the row fails validation |
| Category | category | No | Use the category's name exactly as it appears in Manage Categories. Defaults to application. |
| Icon key | iconKey | No | One of briefcase, shield, database, mail, users, building2, fileText, key, lock, globe, server, cloud, monitor, laptop, hardDrive, code, terminal, layers, phone. Defaults to building2. |
| Max duration | maxDuration | No | See the note below |
| Auto approve | autoApprove | No | true or false |
Auto approve decides whether requests for the resource are approved the moment they're submitted. Write true to turn it on and false to turn it off. Any other value, or an empty cell, imports as off.
If a resource has Auto approve off and no Approval flow name, requests for it have no approvers. They wait in Pending Requests for an administrator. Give each row either autoApprove set to true or a workflowName.
The Max duration field is labeled "(days)" in the wizard, but a bare number like 90 isn't understood by the request form, which then offers every duration up to Permanent. Write the unit too, for example 30 days, 3 months, or 12 months. Leave it empty for no maximum.
Imported resources don't get target groups or an owner. After the import, open each resource in Resource Management with Configure and add its target groups. Until you do, approved requests for it don't add anyone to anything.
Tips
- Start with the downloaded template so your columns map automatically.
- Import a small test batch first to check that your workflows behave as expected, since imported users trigger workflows just like manually created ones.
- Watch your seat limit: imported users count against it like any other managed user.
- For IGA Services, create your approval flows before you import, so the flow names validate.